NAEYC Accredited, 5-Star Preschool in Greenville, NC.
Contact Us To Schedule A Tour Call: (252) 756-8200Letting your child experiment with science is not only fun, it’s an excellent learning opportunity. With just a handful of items you have in your pantry and refrigerator, you can create fantastic science experiments for preschoolers that allow them to test ideas and get real-world understanding of some challenging concepts. To help you get started, our child care center in Greenville, NC is sharing some easy but educational home science experiments to get you started.
First up on the list is an exciting treat your child can eat, and for caregivers, it requires very little effort, though it does take a bit of patience for your child. Turning raisins into grapes using just sunshine will show your child how water evaporates from within the grapes, increasing the sugar content and making them sweeter. After the grapes are raisins, see if your child notices any difference, like changes in color, size or weight.
Making slime is a terrific and fun way to begin teaching your preschooler about solid and liquid states of matter while offering some great sensory play. Slime requires children’s glue, which has the active ingredient polyvinyl acetate, a liquid polymer that has the qualities of both a solid and a liquid. The borax links the polyvinyl acetate molecules to each other, so when they’re combined it creates the one large, flexible polymer or slime. This fun, gooey creation is easy to make and doubles as a toy for your preschooler.
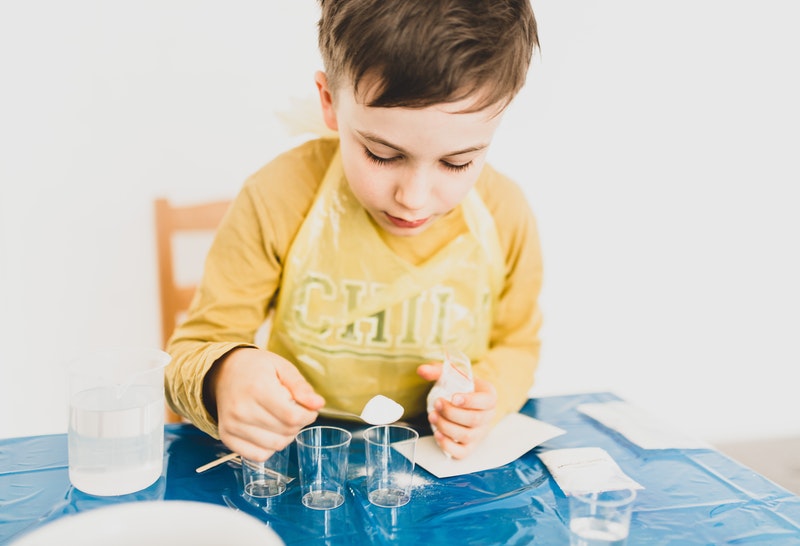
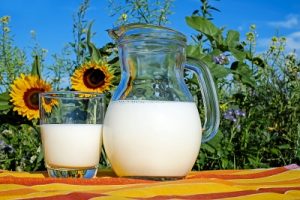
Color changing milk teaches about surface tension, color mixing, and is also simply a blast to watch. Milk is made mostly of water, however, it also contains proteins and vitamins, as well as tiny droplets of fat. The fats and proteins in milk are especially sensitive to change, thus when you hold a soapy Q-tip to the center the molecules are altered. This makes for a cool color explosion experiment you can watch right in your kitchen.
 What You’ll Need:
Last but not least is the tornado in a bottle science experiment. This super simple, hands-on project is a great way to introduce weather and safety precautions to your preschooler. The motion of spinning the concoction of water and soap in a plastic bottle creates a water vortex that is visually similar to a tornado. Try this intriguing experiment out today to develop your child’s imagination and creativity.
Preschoolers learn through hands-on activities that foster their creativity. At Children’s Campus of Greenville, we value the importance of having safe, educational, and fun child development activities – every day. Learn more about how we teach science and other skills in our curriculum by scheduling a tour at 252-756-8200 or filling out the form below to learn more.